
The holiday season always find me a little gloomy for whatever the reason. I try hard to get into the spirit early but it never seems to work...UNTIL THIS YEAR. I have a TON of things to be thankful and am truly blessed. With that in mind I went to work creating a our Holiday Home and am ready to share a little peek of our Christmas Mantel.
As you can see from my fabulous picture it is not quite done yet but it will be soon and you will have to hop over and check it out next week. It is going be AHHH-Mazing, well it seems to be that way in my head. HA
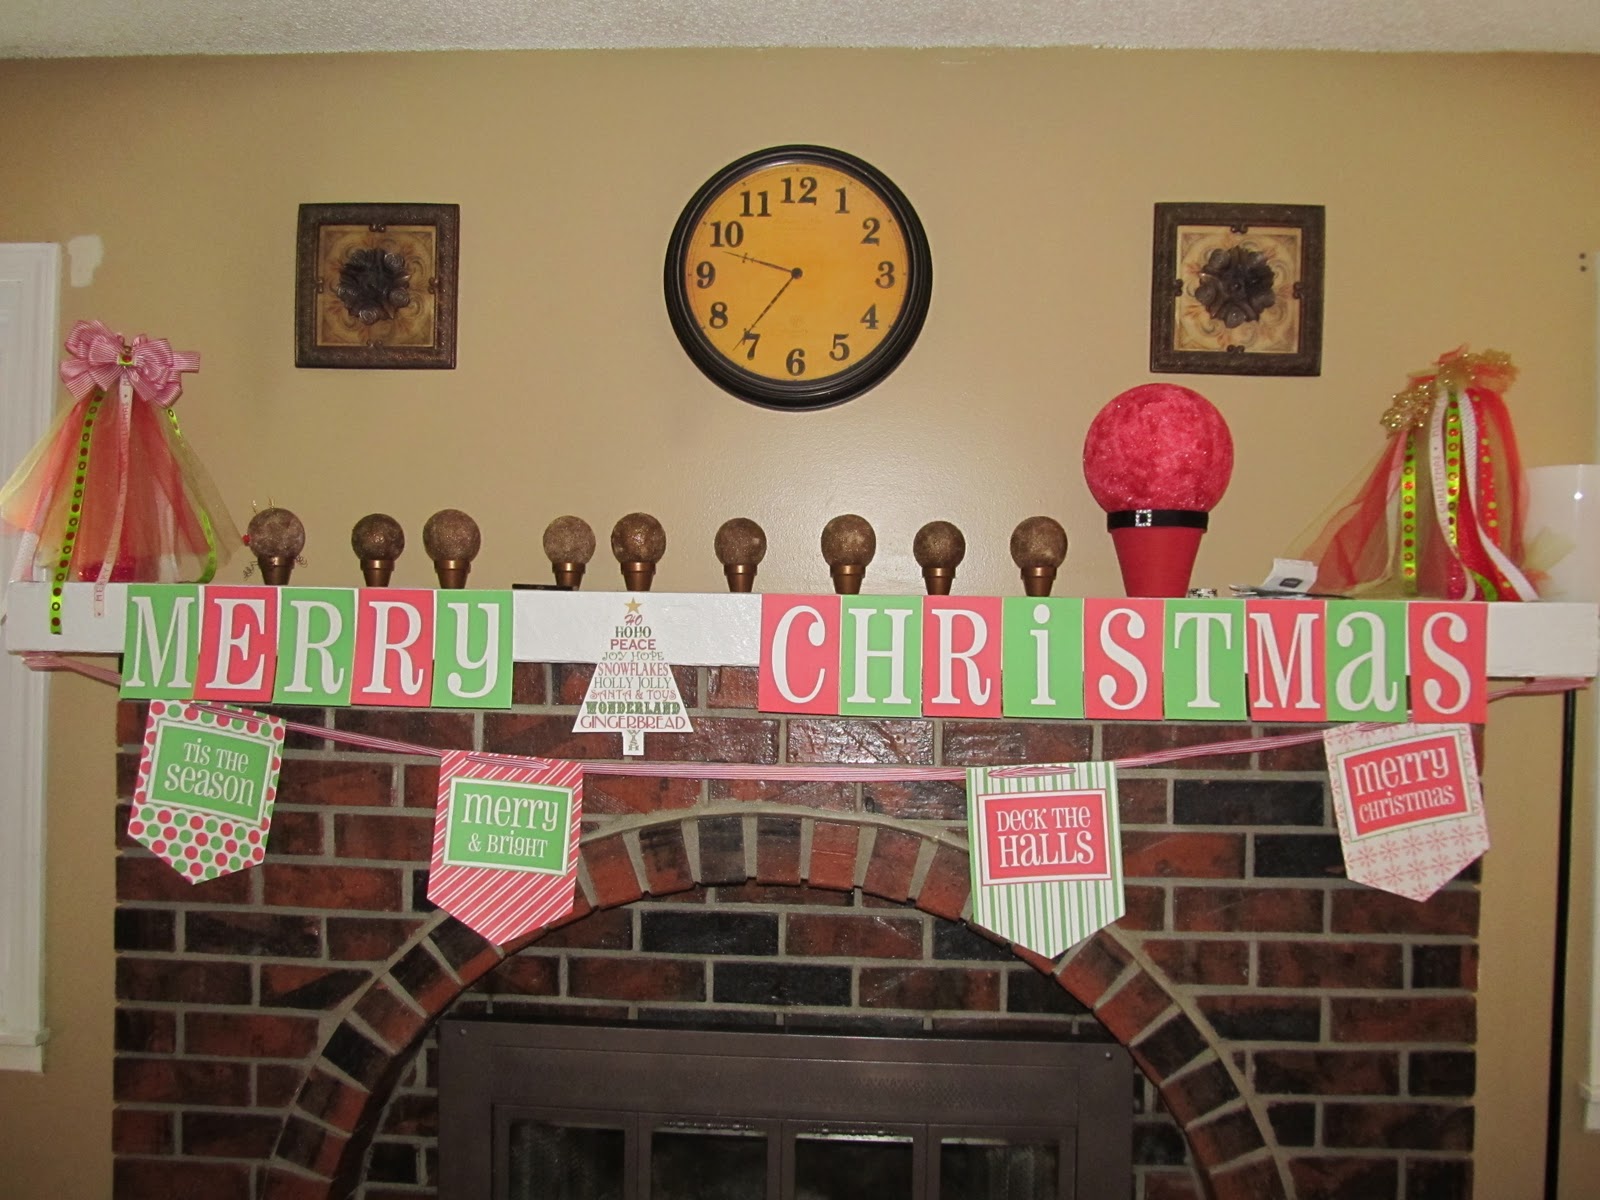
Don't you love the banner? I of course, cannot take credit for it, since I am a total computer idiot!! BUT I do know how to type my email address (that is SUPER easy). All I did was sign-up for emails over at http://www.howdoesshe.com/ and every so often they send out the most fabulous emails!! This is actually a 27 page Christmas Printable kit complete with banner, gifts tags, letters, and too much to list. THERE ARE A TON of kits like this that are soooooo cool. The best part, as long as you know how to print (which thankfully I do) you can have super cuteness without all the work! WHO DOESN'T LOVE THAT? AND just so you all know, I am in no way affiliated with the How Does She Blog! They do not pay me or anything. Heck, I am sure they do not even know who I am!! I just love getting the emails so much I had to tell you all!!
Back to CRAFTY business...
The trees that I made on either side of the mantel. WAY back in MAY (it seems like a million years ago) I hosted a graduation party (which you can see pics of here) and made all the decorations. I made these little trees as part of the table scape...

Nothing in my house is blue (unfortunately) and my niece did not want to take them home so I have just been hanging on to these little booger until I could figure out what to do with them. SO, I took all of that ruffle and what-not off and did this...

I plugged in my new trusted 2 temp (WOOT WOOT! It took me FOREVER to find another one after my last one died, you can read about that story here and here if you would like.)

Luckily, this little Styrofoam tree was already covered with burlap underneath all of that pretty. So this was soooo easy! I just ran a line of hot glue on the seam and wrapped my fabric around the tree form. I was careful to smooth all the wrinkles. Once the glue was not hot (yeah, right I totally burned myself) I trimmed away the excess fabric.

Then I added red duck tape to the bottom. This is prob the dumbest thing to mention but I am going to do it anyway...I cut my tape pieces larger than base once it was all on there I carefully trimmed around the base to ensure a proper fit. Cute so far, huh?

I knotted the top and pulled it tight...

Once again, I trimmed the excess...

I forgot to take pics of this part (I kind of got caught up in the moment) but not to worry all you missed is cutting tulle and ribbon. I used green and red tulle and some extra Christmas ribbon I had from making hair bows. I cut them into roughly 12" strips but it will depend on a) the look you want and b) the size of your tree.

I attached the ribbon and tulle to the knot with a rubber band (that way you can change it year after year if you want to!)

AND WE ARE DONE! Whew! Quick, easy, and not a single barely any injuries!
TOTAL SUCCESS!
I added some gold leaves to the top of this tree. This one has the longer tulle.

I added a boutique bow to the top of this one with the shorter tulle.
Which do you like better? Shorter or longer tulle?
It is quite the debate at our house right now.

I kinda like them! OKAY, now for the rest of that junk.
Just in case you cannot tell because it is not finished yet
(poor planning on my part and LONG dry times)
All those little pots with Styrofoam balls on top are my version of
Santa and his eight tiny reindeer, complete with RUDOLPH.

See? And these are SUPER easy so I am going to tell you how to do these too...
You are going to need some clay pots, I bought 9 of the smalled ones I could find at JoAnn and then one of the bigger ones.


And painted them using Martha Stewart Metallics Specialty finishes from HomeDepot
While those were drying I got out my styrofoam balls
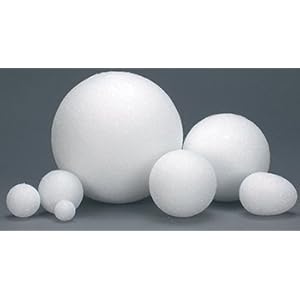
I used 9 2 inch balls and one BIG one that my husband bought me so I have not clue the size for Santa
I coated them all with this...

Then I painted everything to match the respective clay pot with my Martha Stewart Specialty finishes. I did not secure (or glue) the balls to the pots at all. I just placed them in there. I glued a teeny tiny sparkely red pom on as the nose. Then I grabbed my wire tools and some wire.

I cut about a foot of each color. (I would have used brown but the guage was not thick enough I did not think so I used black for the legs and gold for the antlers. Both are 20 gauge.) Then, I cut the gold antler wire into have. The black was cut into fourths.
THE LEGS: You are going to need a very special tool for the legs and making them is very technical.
Grab a pencil and wrap all 4 pieces around them to make coils. TOTALLY TECHNICAL, huh! HA!

Wrap it on...

Slide it off...

Pull it apart a little and shove it in to your ball. (So easy a caveman could do it!)

The antlers are just free form but I bent the wire and then

Pinched it tight. Shove it in the top and we are done again...

I think it is super cute!!!
Thank you so much for enduring my ramblings and letting me spread the Christmas cheer that has found it's way to me this season. I hope you all will hop over and check out my mantle when it is all finished. Plus, if you are interested I have a linky every Thursday for crafts and a ton of inspiration over there!
HAPPY HOLIDAYS!
HUGS~
Jenni
I love your little reindeer, they are so cute!
ReplyDeleteOdd question, could you send me a pic of your fireplace??? We have a brick fireplace in our new lounge and can't decide whether to keep it as it is or modify it!!
x
hey whats up Jennie
ReplyDelete